Tuesday, 29 October 2019

Cinematography 4

I am a coward.
I went back to cinematics with water because every time I tried with an organic movement (cliff diving, ski jumping, crowds) it looked so WRONG.

So I picked this. I'm proud of it for sure because stilled water looks really cool, but disappointed that the human movements defeated me.


Monday, 28 October 2019

Cinematography 3

Again I run into the problem of looping an organic movement. Here I have a man talking to himself in the mirror, but as you can see changing the opacity creates a problem once again.


I wonder if it would be better to ignore the opacity and just deal with the stilted glitchy movements. However, there must be a way around this, running it backwards or something. I'll figure it out.


Cinematography 2

I have discovered my greatest downfall when it comes to this technique: organics
When it came to looping water it was easy, because water naturally continues in a loop. When it comes to anything with organic movement, even if it is circular, it becomes REALLY HARD to manage without having mistakes in masking.

Here I masked the mirror of this little ballerina, but as you can see the opacity changing and the masking kind of... backfired? It doesn't look great. I tried a bunch of things and this was the best I could do.

As you can see from the original video, the ballerina moves in a circle - I couldn't find a good video of a ballerina rooted to the spot. Because of this, it was hard to find a portion of the video to use that didn't have the original ballerina in front of the mirror, while the mirror ballerina was doing something interesting.

Thursday, 24 October 2019

Cinematography 1

Well, that looks a lot easier than it actually is.


Here is my cinematic thing. For goodness' sake, REMEMBER THE SHORTCUT TO TAKE A PICTURE: Shift+Alt+Ctrl+E It's super long and I could not find it ANYWHERE I had to rewatch the entire tutorial video I followed.

 ^
  |
Original Video
Link to Tutorial

Wednesday, 23 October 2019

Sketch-Up Project 5

I have a rather ambitious idea for my 3D fit-together project

Ready to print whenever I get time with the printer, can't wait to see how it goes...

Monday, 21 October 2019

Sketch-Up project 4

Time to make more stuff to print! 
I made the pencil holder that fits together, and a smaller pencil holder that is a bit of an optical illusion. 


Tuesday, 15 October 2019

Sketch-Up Project 3

One of the great things about SketchUp is, after creating a 3D object, you can print it with a 3D Printer, bringing your creating to life!
This block is going to be the first thing I'm going to print.


Sketch-up Project 2

Utilizing the 3D options to create Rubic's Cubes


Updated photos with names

Sketch-Up Project 1

Creating Tile Designs In SketchUp


Tuesday, 8 October 2019

Introduction to HTML Day 11

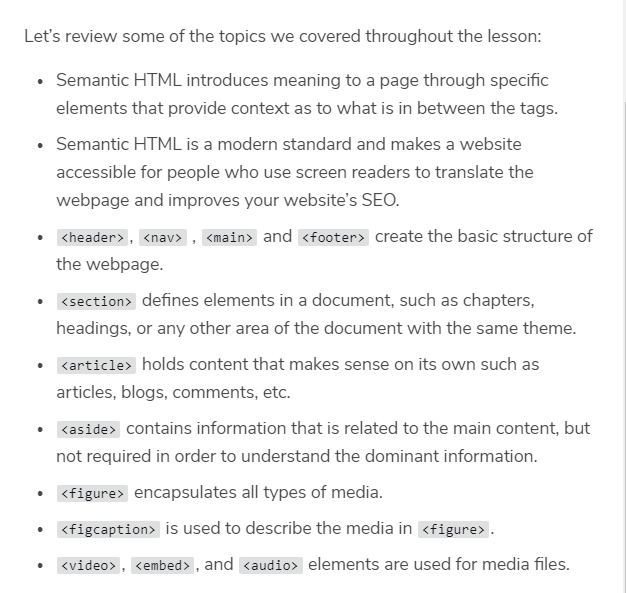
A final Review of Modern HTML.

I finally made a website about something I was passionate about: dogs. Not only did I learn that for dogs absence makes the heart grow fonder, but I also learned how to link websites and videos. the <audio>, <video> and <embed> codes were very confusing to remember, and also remember the difference between them all. 
<audio> linked just the audio from a website they provided me with. I didn't bother to check it for viruses 
<video> linked to YouTube, set up a little video of a dog. 
<embed> is for gifs and videos from a computer. 
For each, there is an option to not give the viewer and controls, which I thought would be a very fun little piece of code to mess with.

And that concluded my CodeAcademy class on modern HTML! I had so much more information on computers, I had never expected to be given the opportunity to forget so much about coding. 

Introduction to HTML Day 10

Final Project for the Forms unit, using all the interactive pieces I learned.

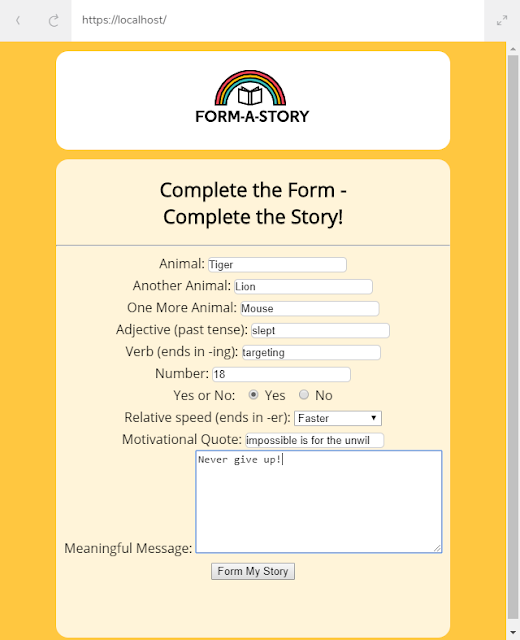
Remember those ad-libs stories they sold at gas stations and airport gift shops? Well this project was to make an online version. Time to trick kids into filling out this survey on their favorite animal - I mean, cute children's story!
The textbox was definitely the most useful of the <input> functions, probably because it makes the interacter do the most work. Coders are lazy. The story did turn out to be cute. 

The final step was to review everything I had just learned. 

Introduction to HTML Day 9

Forms are the interactive parts of websites, like search bars and buttons.

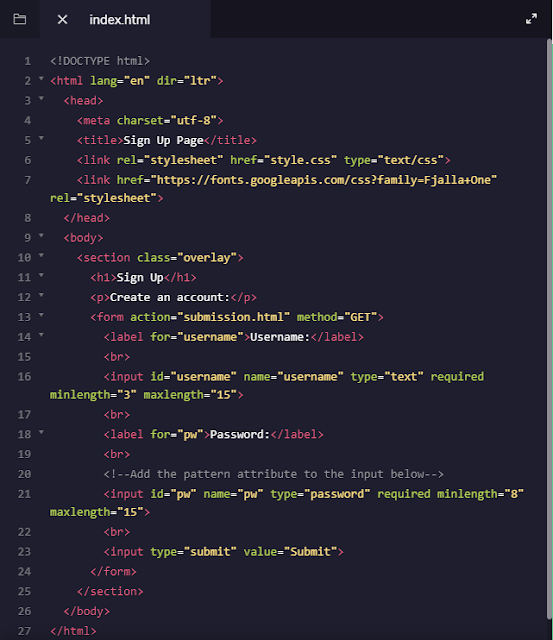
For this project I had to make a very controlling sign in page. I learned how to make a textbox a 'required' form, meaning it had to be filled in to be submitted. You can also give them min and max amounts of characters to work with using minlength="" and maxlength="" addtions. 

Again, naming and iding the input is a very important step. 

After finishing that, I got to move on to the final project for the Forms unit. 

Introduction to HTML Day 8

This is the PDF collection of cheat codes for the Forms unit.

So those tags are actually referred to as Forms. And they are way more confusing than I thought. In an effort to make them more friendly, I colored the table I put the screenshots in rainbow. Did it help? 

The project gave me small knowledge on how to use the textboxes, number type, span type and checkbox type of forms. You can make a big text box using the text area type. There are also datalists and ways to force people to answer your questions by using the 'required' type. 

Next I will work with forms more in an effort to understand them. Let me use the Form="post" option right now to post this!